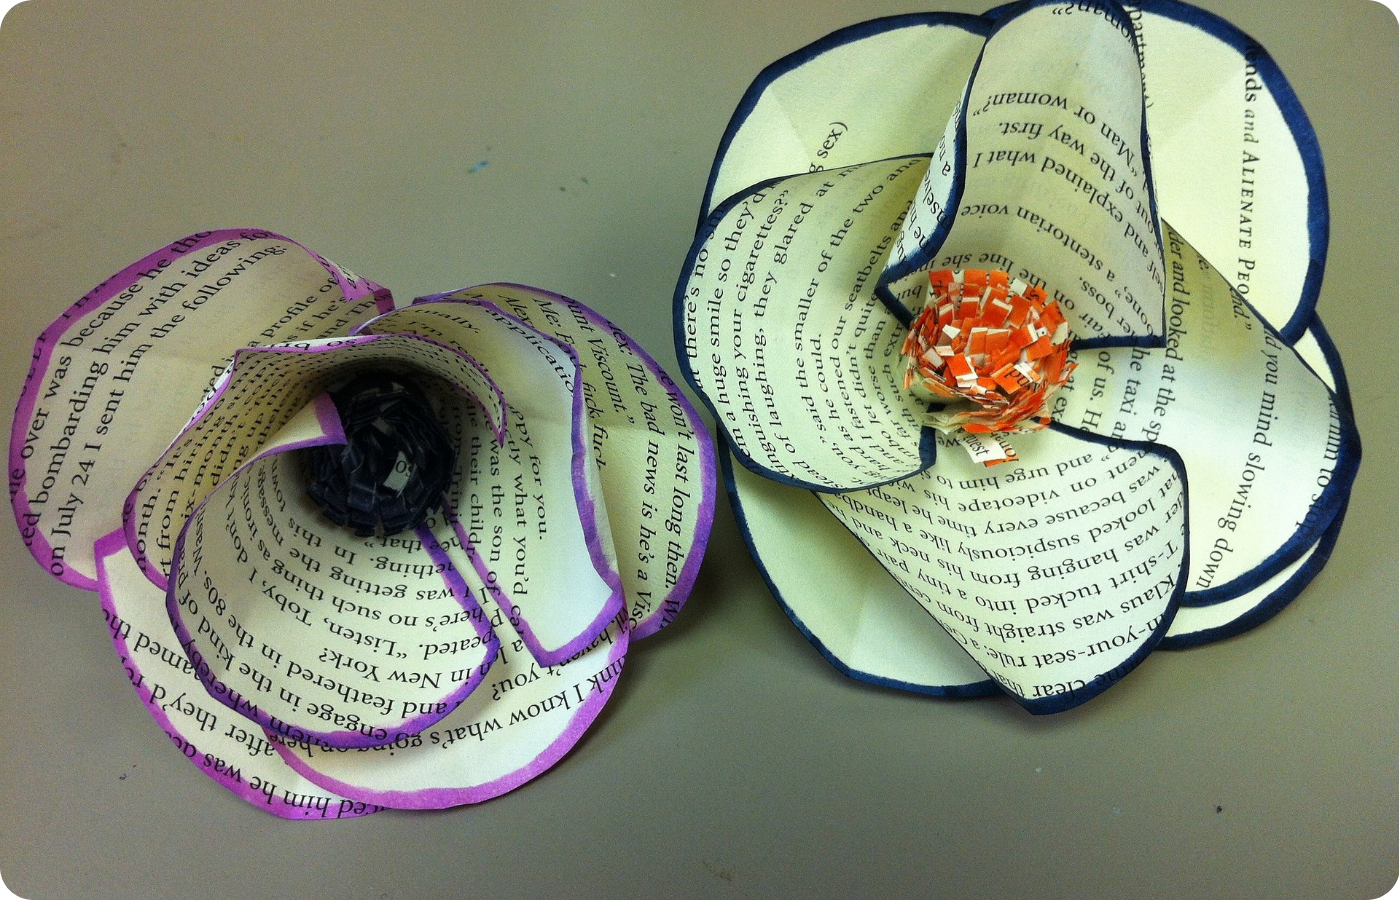
Paper Sculptures
Mizzen Education, Inc.
Students create different shapes out of paper and glue them together to make a sculpture that represents themselves. As they create, they learn different ways to manipulate paper and to express themselves.
Category: Arts
Duration: 45 mins
Grades: 3-5
Grades: 3-5
Learning Standards: National Core Arts Standards
Learning Objectives
Students will:
- Demonstrate an understanding of emotional responses to color and organic and geometric shapes.
- Explore art-making techniques and purposes.
- Use art vocabulary like the elements and principles of design to talk about artwork.
- Identify the objects abstract symbols represent.
- Demonstrate the ability to compare and contrast using visual images.
Resources:
Materials
For the whole group:
- A whiteboard, blackboard, or chart paper
- Device to display demonstration video for the group
For each small group:
- Pencils and rulers to wrap and shape papers
- Soft glue sticks
- Small binder clips
- Squares of black or white construction paper or solid color cardboard, 6-8 inches, to use as sculpture bases
- A variety of heavy colored papers, including white
- Black markers
Resources:
Multimedia
- Paper Sculpture demonstration video (Note: the video description provides chapters to quickly navigate to specific techniques)
Resources:
Preparation
- Read through and familiarize yourself with the entire activity, and gather all materials.
- Prepare tables or module areas for small groups to gather, plan, draw, or create.
- On the board, write:
- 1 paper construction of any kind = you in the center
- 1 spiral to match your eye color
- 1 orange arch (any size) if your name has an “a” in it.
- 1 zigzag (any color) for each sport or musical instrument you play.
- 1 red arch if you love pizza
- 1 blue set of tabs if you love animals
- 1 folded loop (any color) for each member of your family
- Preview the "5-minute Demo: Paper Sculpture" video in the Multimedia section if you would like to select and prepare materials to demonstrate specific techniques.
Resources:
Activity Steps
- Ask students what they know about sculpture making.
- Tell students that today they will be making a paper sculpture to represent themselves. Point out the list on the board. Tell them that they need to include each item on the list in their sculptures. Then they can add to their sculptures as they desire.
- Explain that they can make something that is both abstract and realistic. For instance, a student who loves to read could form a book shape out of paper. Students can also add kites, car wheels, and airplanes.
- Tell students that they will also add some paper that has some black and white patterns. Give them a square of white paper and tell them to cover it with black doodles and patterns using a black marker. They can cut this paper up and then also use it to make shapes.
- Next, show students the "5-minute Demo: Paper Sculpture" video in the Multimedia section. Gather students around you and demonstrate 3-4 of paper techniques. Show them how to use a pencil and roll paper around it and the sharp edge of a ruler to create an s-curve in the paper by pulling the paper across from it in different directions.
- Tell students that too much glue will cause their paper not to stick. If they use a glue stick, they will have to rub the paper hard after joining it and then clip it with a binder clip until it dries.
- As they work, circulate among them praising lines, shapes, colors, variety, textures, as well as sharing, craftsmanship, and creativity.
- To close, place all the sculptures on a large table, and have students name 3 things the students like about the sculptures.
Resources:
Variations
- Students can shift their thematic focus to color schemes like all warm or all cool colors, or they can do a sculpture representing their family and pets.
- If you have an older or more mature group, they can use children’s scissors and white glue.
- After the sculpture is finished, they could write their favorite foods, colors, and activities on the sculpture in black marker.
Resources:

